
I’m working on a canvas sampler with 64 squares, each one exploring a different canvas stitch and the texture it creates. One of the squares is filled entirely with French knots. And while making one French knot is not particularly complicated, making consistent French knots across an entire 2 × 2 cm square is a different story! Suddenly, consistency becomes rather important!
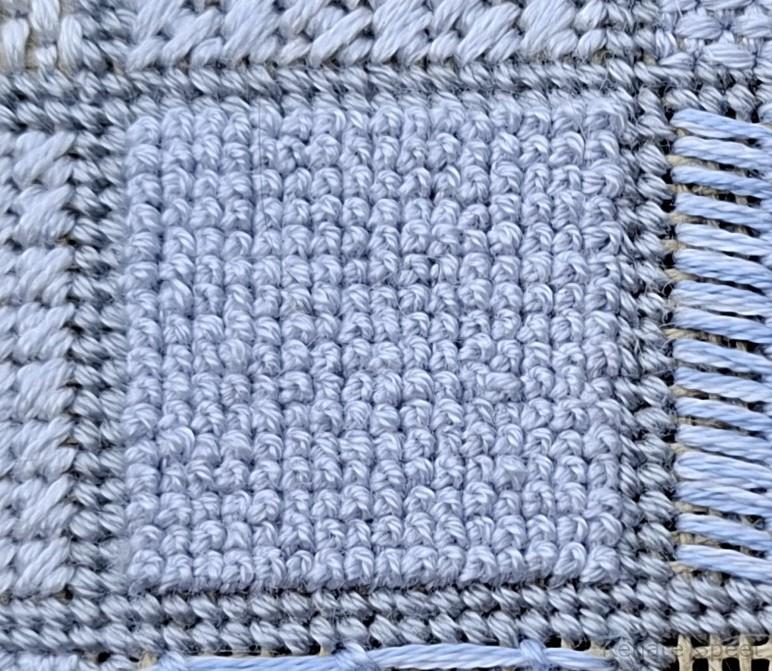
I think this is something many stitchers struggle with. It is relatively easy to make one nice French knot. Making dozens — or hundreds — that all look more or less the same takes a little more thought.
So I thought I’d share a few things I’ve learned about making consistent French knots, particularly when working them as a dense filling on canvas.
Do you actually want consistent French knots?
Before getting into the technique, I think it is worth asking this question.
French knots don’t always need to be identical. In fact, sometimes a little variation is exactly what you want.
For example, when I use French knots to represent little flowers in surface embroidery, I often prefer them to be slightly different in size and direction. That variation makes the flowers look more natural and less like they have been stamped onto the fabric.
But when you are filling an entire area with French knots, like I am doing in this canvas sampler, a consistent texture is much more important. One noticeably larger or looser knot can stand out quite a lot when it sits next to a whole field of uniform ones.
The basics of a French knot
The basic principle is very simple:
- Bring the needle up through the fabric.
- Wrap the thread around the needle.
- Take the needle back down through the fabric close to where you came up.
- Draw the thread through untill the knot forms on the surface, keeping tension on the thread.’
The RSN Stitch Bank has a useful explanation and demonstration of the French knot if you want to see the basic stitch before trying to make a whole field of them.
One wrap or several?
When I want my French knots to be consistent, I find it much easier to work with one wrap around the needle rather than two or three.
Adding more wraps gives the thread more opportunities to move around and sit unpredictably. The result can be beautiful, but it also makes it harder to get every knot the same size and shape.
With one wrap, there are fewer variables to control.
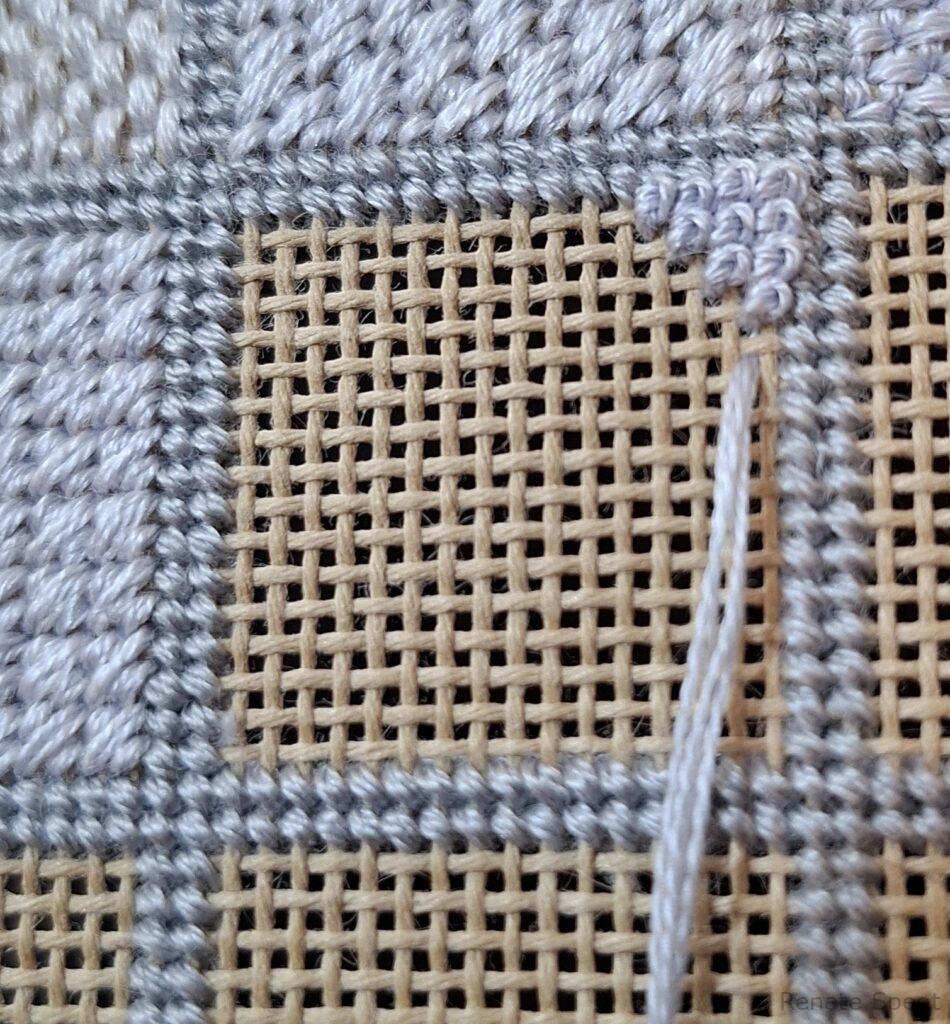
The size of the knot is then largely determined by the amount of thread in your needle. For this particular square, I’m working on 18-count canvas with four strands of DMC in the needle.
That gives me a knot that is substantial enough to completely cover the canvas without becoming excessively bulky.
Where you come up and go down matters
The position of your entry and exit points also affects the direction your French knot faces.
On canvas, this is relatively easy to control because the holes are already there for you. You are essentially working with a predefined grid.
If you were working on plain linen or cotton, you would need to be much more deliberate about both the distance and the direction between the point where you come up and the point where you go back down.
This becomes especially noticeable when you are filling an area with knots. Even if the knots are the same size, differences in direction can make the surface look much less uniform.
Tension: the key to consistent French knots
This is the part I find makes the biggest difference.
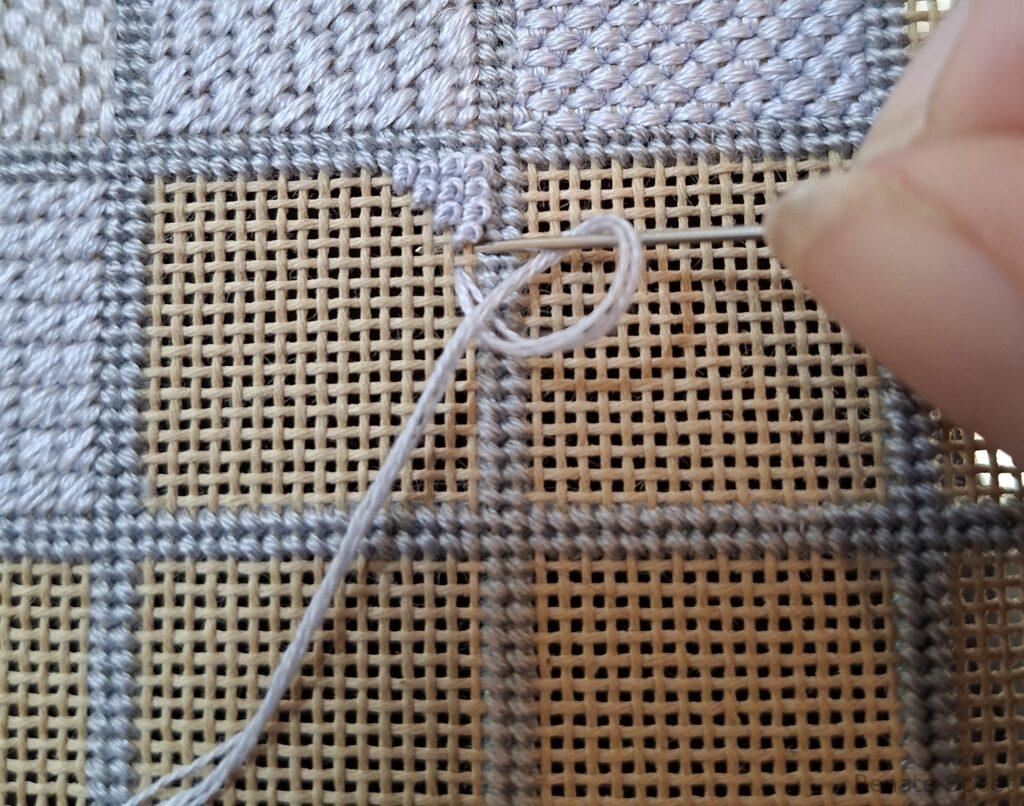
After bringing my needle up, I wrap the thread around the needle once. I then put the needle into the hole where I intend to take it back down.
At this point, I pull the thread quite tight.
The tension on the thread actually changes the angle at which my needle is pointing. I then pull the needle through in that same direction.
This is important.
If I were to pull the needle straight down instead, rather than following the angle created by the tension in the thread, I would disturb the wrap sitting on top of the canvas.
That wrap can loosen, creating a larger and more bulky knot.
And if you are trying to create a consistent field of French knots, you don’t want some knots to suddenly become noticeably bigger simply because the thread was pulled through at a slightly different angle.
I also try to maintain the tension on the thread that is sitting on top of the fabric while I pull the needle through.
If I let that tension go, the wrap can loosen before it has formed the knot. Again, the result is a slightly more open and bulky knot.
So for me, the process is almost:
wrap → position the needle → tighten the thread → maintain that tension → pull the needle through
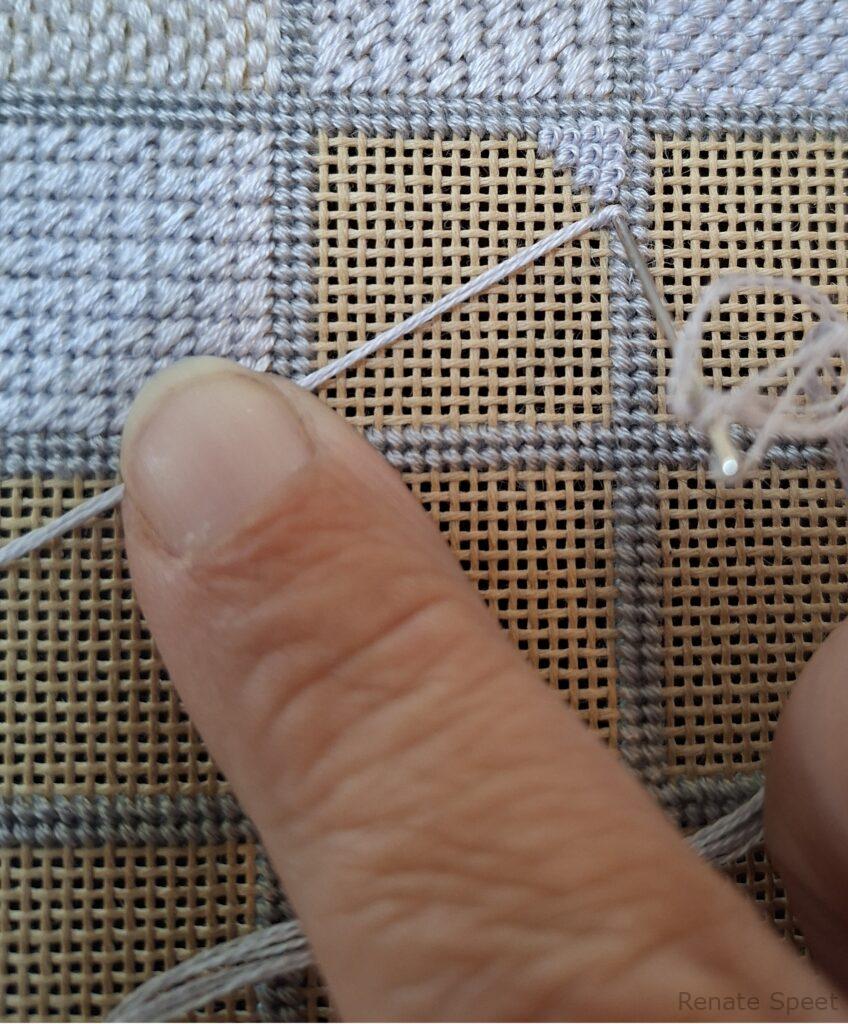
Once I started paying attention to this, I found it much easier to get a whole area of knots looking uniform.
Be careful where you bring your needle up
There is one more thing that is easy to overlook when filling a small area.
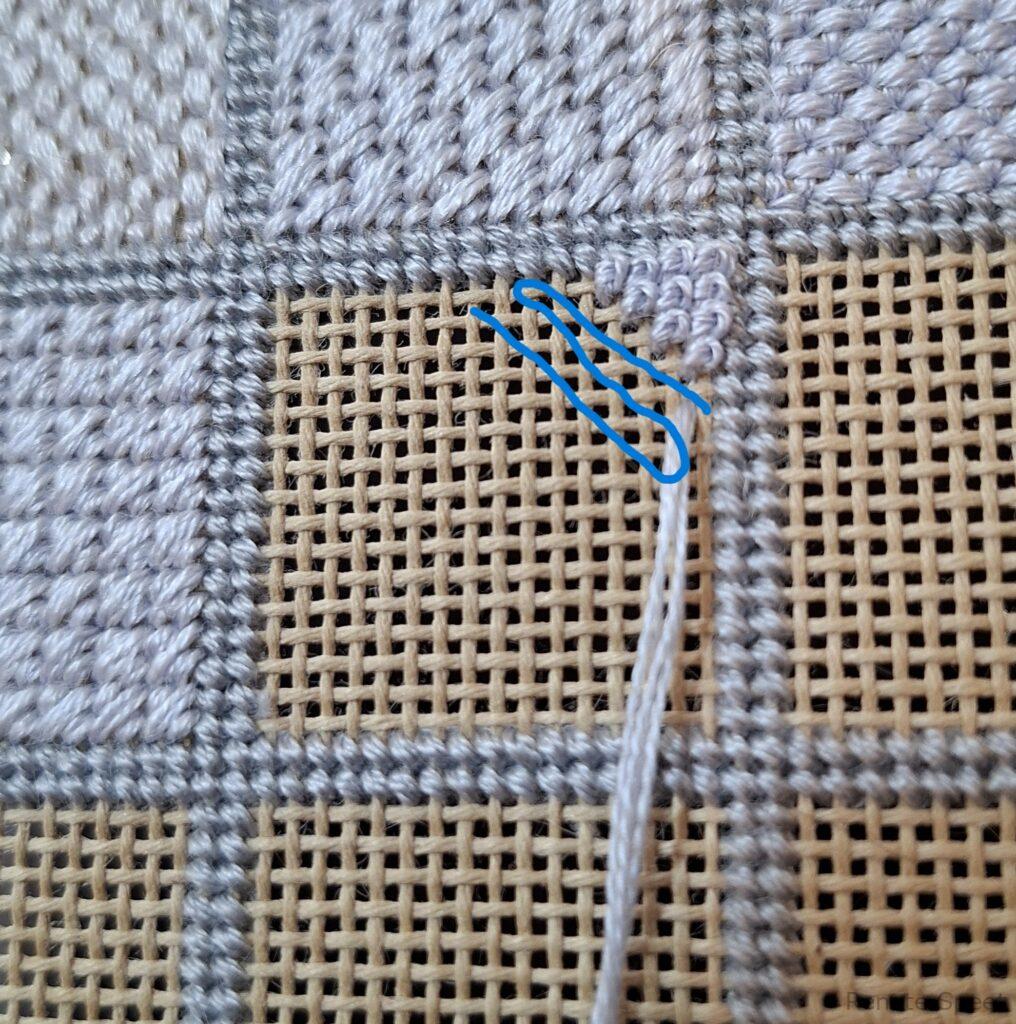
Don’t bring your needle up through a hole that already contains a French knot.
Doing so can change the direction of the existing knot. You can end up disturbing the knot you have already made, or making it sit differently from the others around it.
Instead, I bring my needle up through an empty hole and then take it back down into a hole that may already have a knot next to it.
When I go back down, I make sure that the needle passes alongside the existing knot rather than directly through it.
This is particularly useful when working a dense filling where the knots are close together and you quickly run out of completely unused holes.
That’s why I stitch the knots in diagonal rows, so I always can come up in an empty hole.
Small details make a big difference
None of these things are particularly complicated on their own. But when you are stitching a whole area with the same stitch, all those small decisions start to add up.
For my canvas sampler, I wanted this square to have a very even, almost textured surface. That meant I had to pay much more attention to things I might not think twice about when making an individual French knot.
The number of wraps, the number of threads in the needle, where I come up, where I go down, the angle of the needle and — perhaps most importantly — the tension of the thread all contribute to the final result.
And once you find a combination that works, the key is simply to repeat it.
Which is probably the real trick to getting consistent French knots: make the process consistent, rather than trying to make every knot perfect.