In my last post about the Malachite Bird embroidery project, I shared some of the challenges I faced with stitch order and colour choices. At that point, I still had part of the bird left to complete — and I was curious to see how all those threads would finally come together. This follow-up continues that story, with the last stitches in place and the Malachite finally finished.
Looking at the remaining section still to stitch, I thought I might just be able to finish the entire bird in one evening. (And yes — I actually did manage to complete it!)
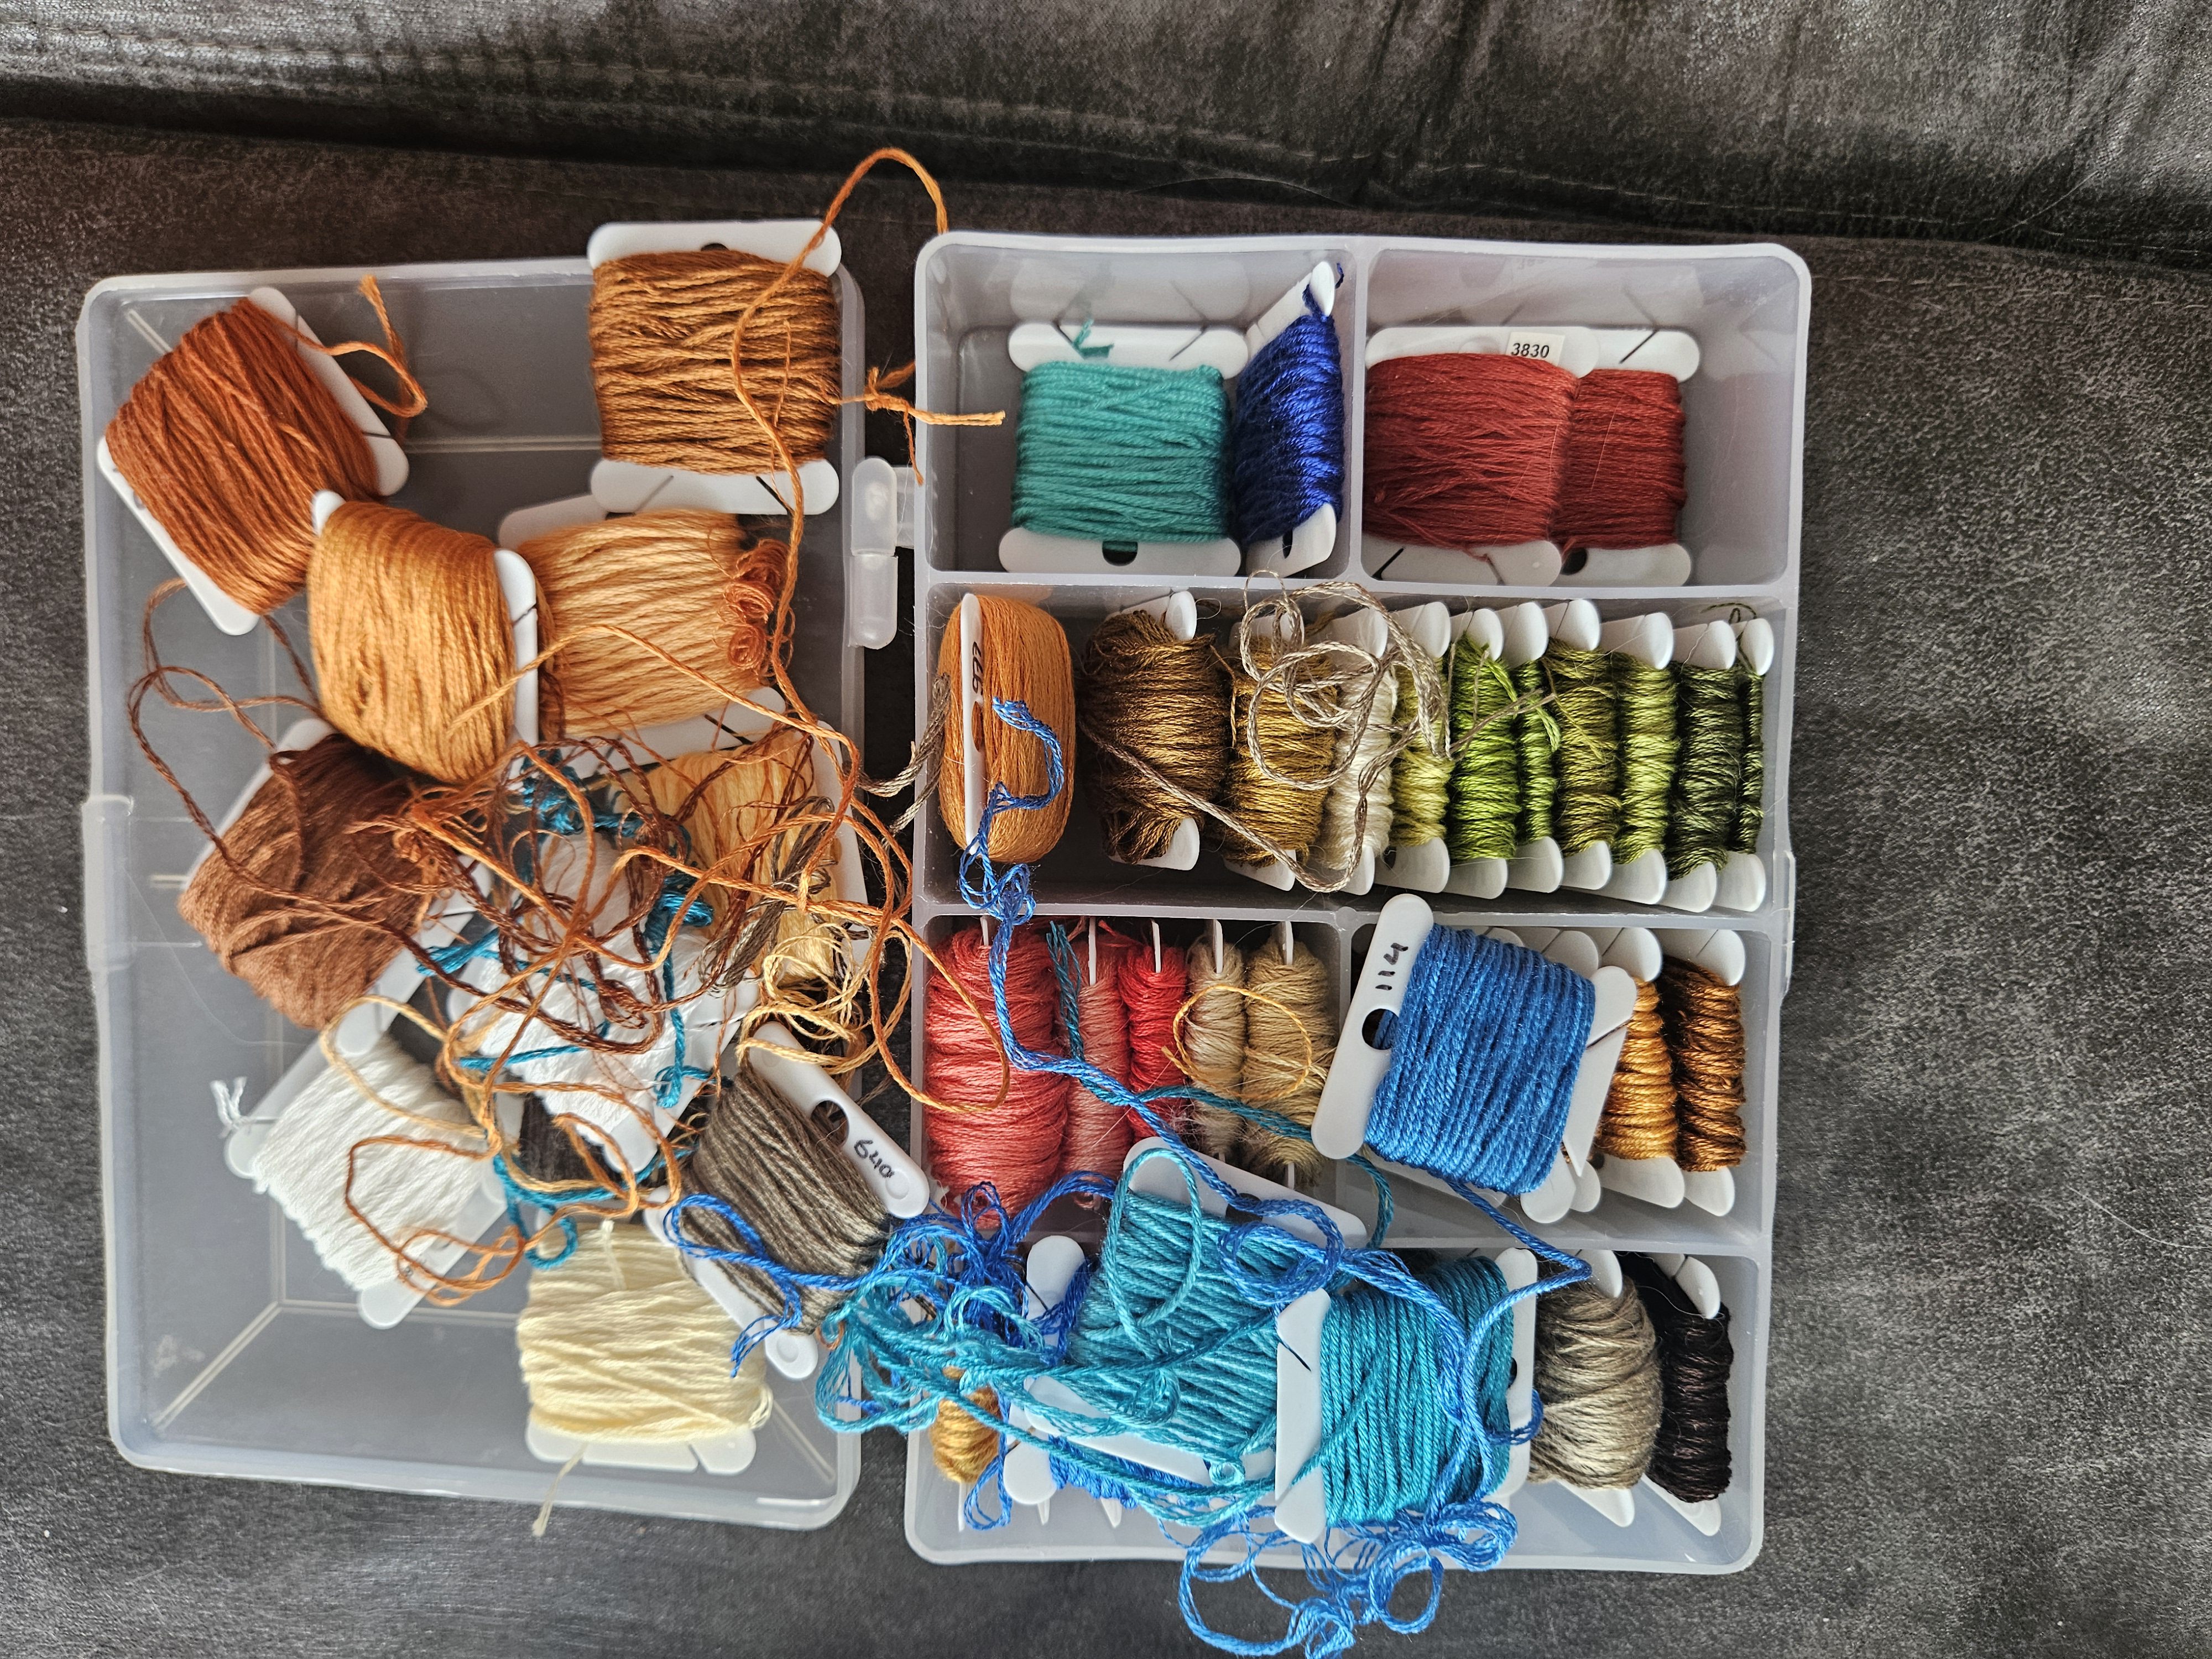
Before I begin a stitching session, I always like to prepare properly: threads cut and threaded, needles ready, and all the colours I’ll need laid out in front of me. Once I get into a rhythm, I tend to focus so much on the stitching that I’ll easily forget to swap in a colour if it isn’t within easy reach.
When I gathered all the threads listed in the pattern instructions for this part of the Malachite, I was genuinely surprised. Could all of those colours really be needed for such a tiny section? There were far more browns and yellows than I expected, especially since most of the head was clearly that gorgeous blue-green, not yellow-brown.
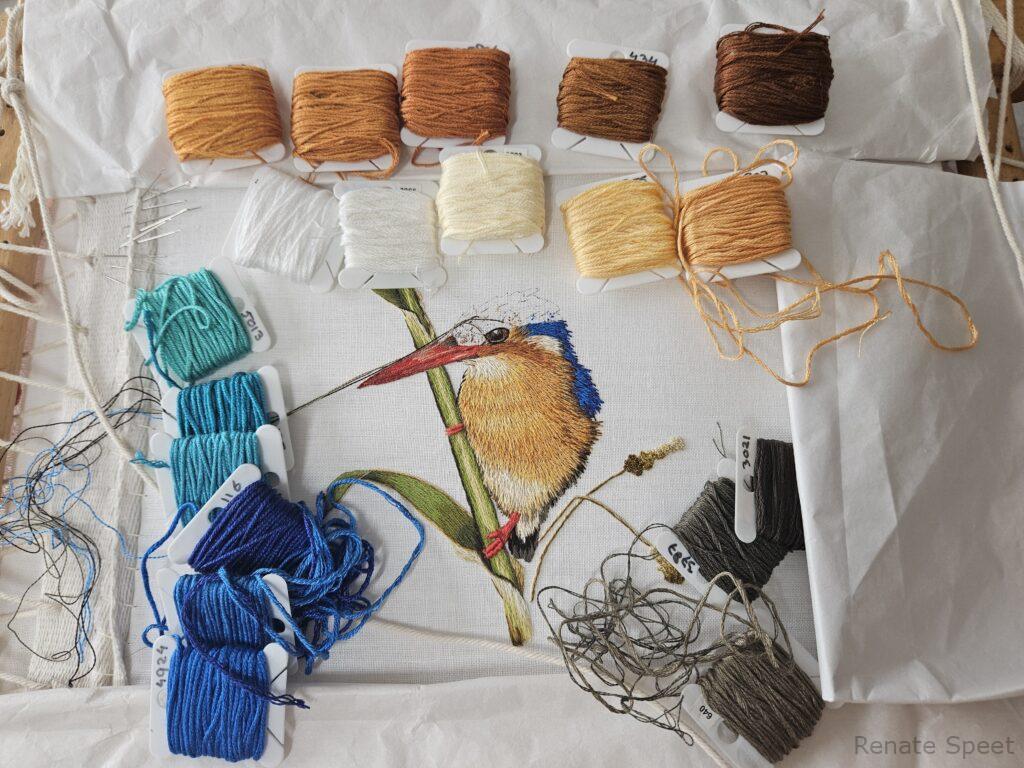
The only explanation I could come up with was that those shades were intended for the pale highlight area on the head, to right of the eye . But since I had already stitched that section earlier, I realised I wouldn’t need them after all. In the end, I set aside all the whites and yellows, and most of the browns too — keeping only three shades (light, medium, dark) for the tiny area above the beak.
The blue-greens were a delight to stitch, and the crown of the head came together fairly quickly. The real challenge was squeezing in all those different colours brown and grey above the beak in such a small space.
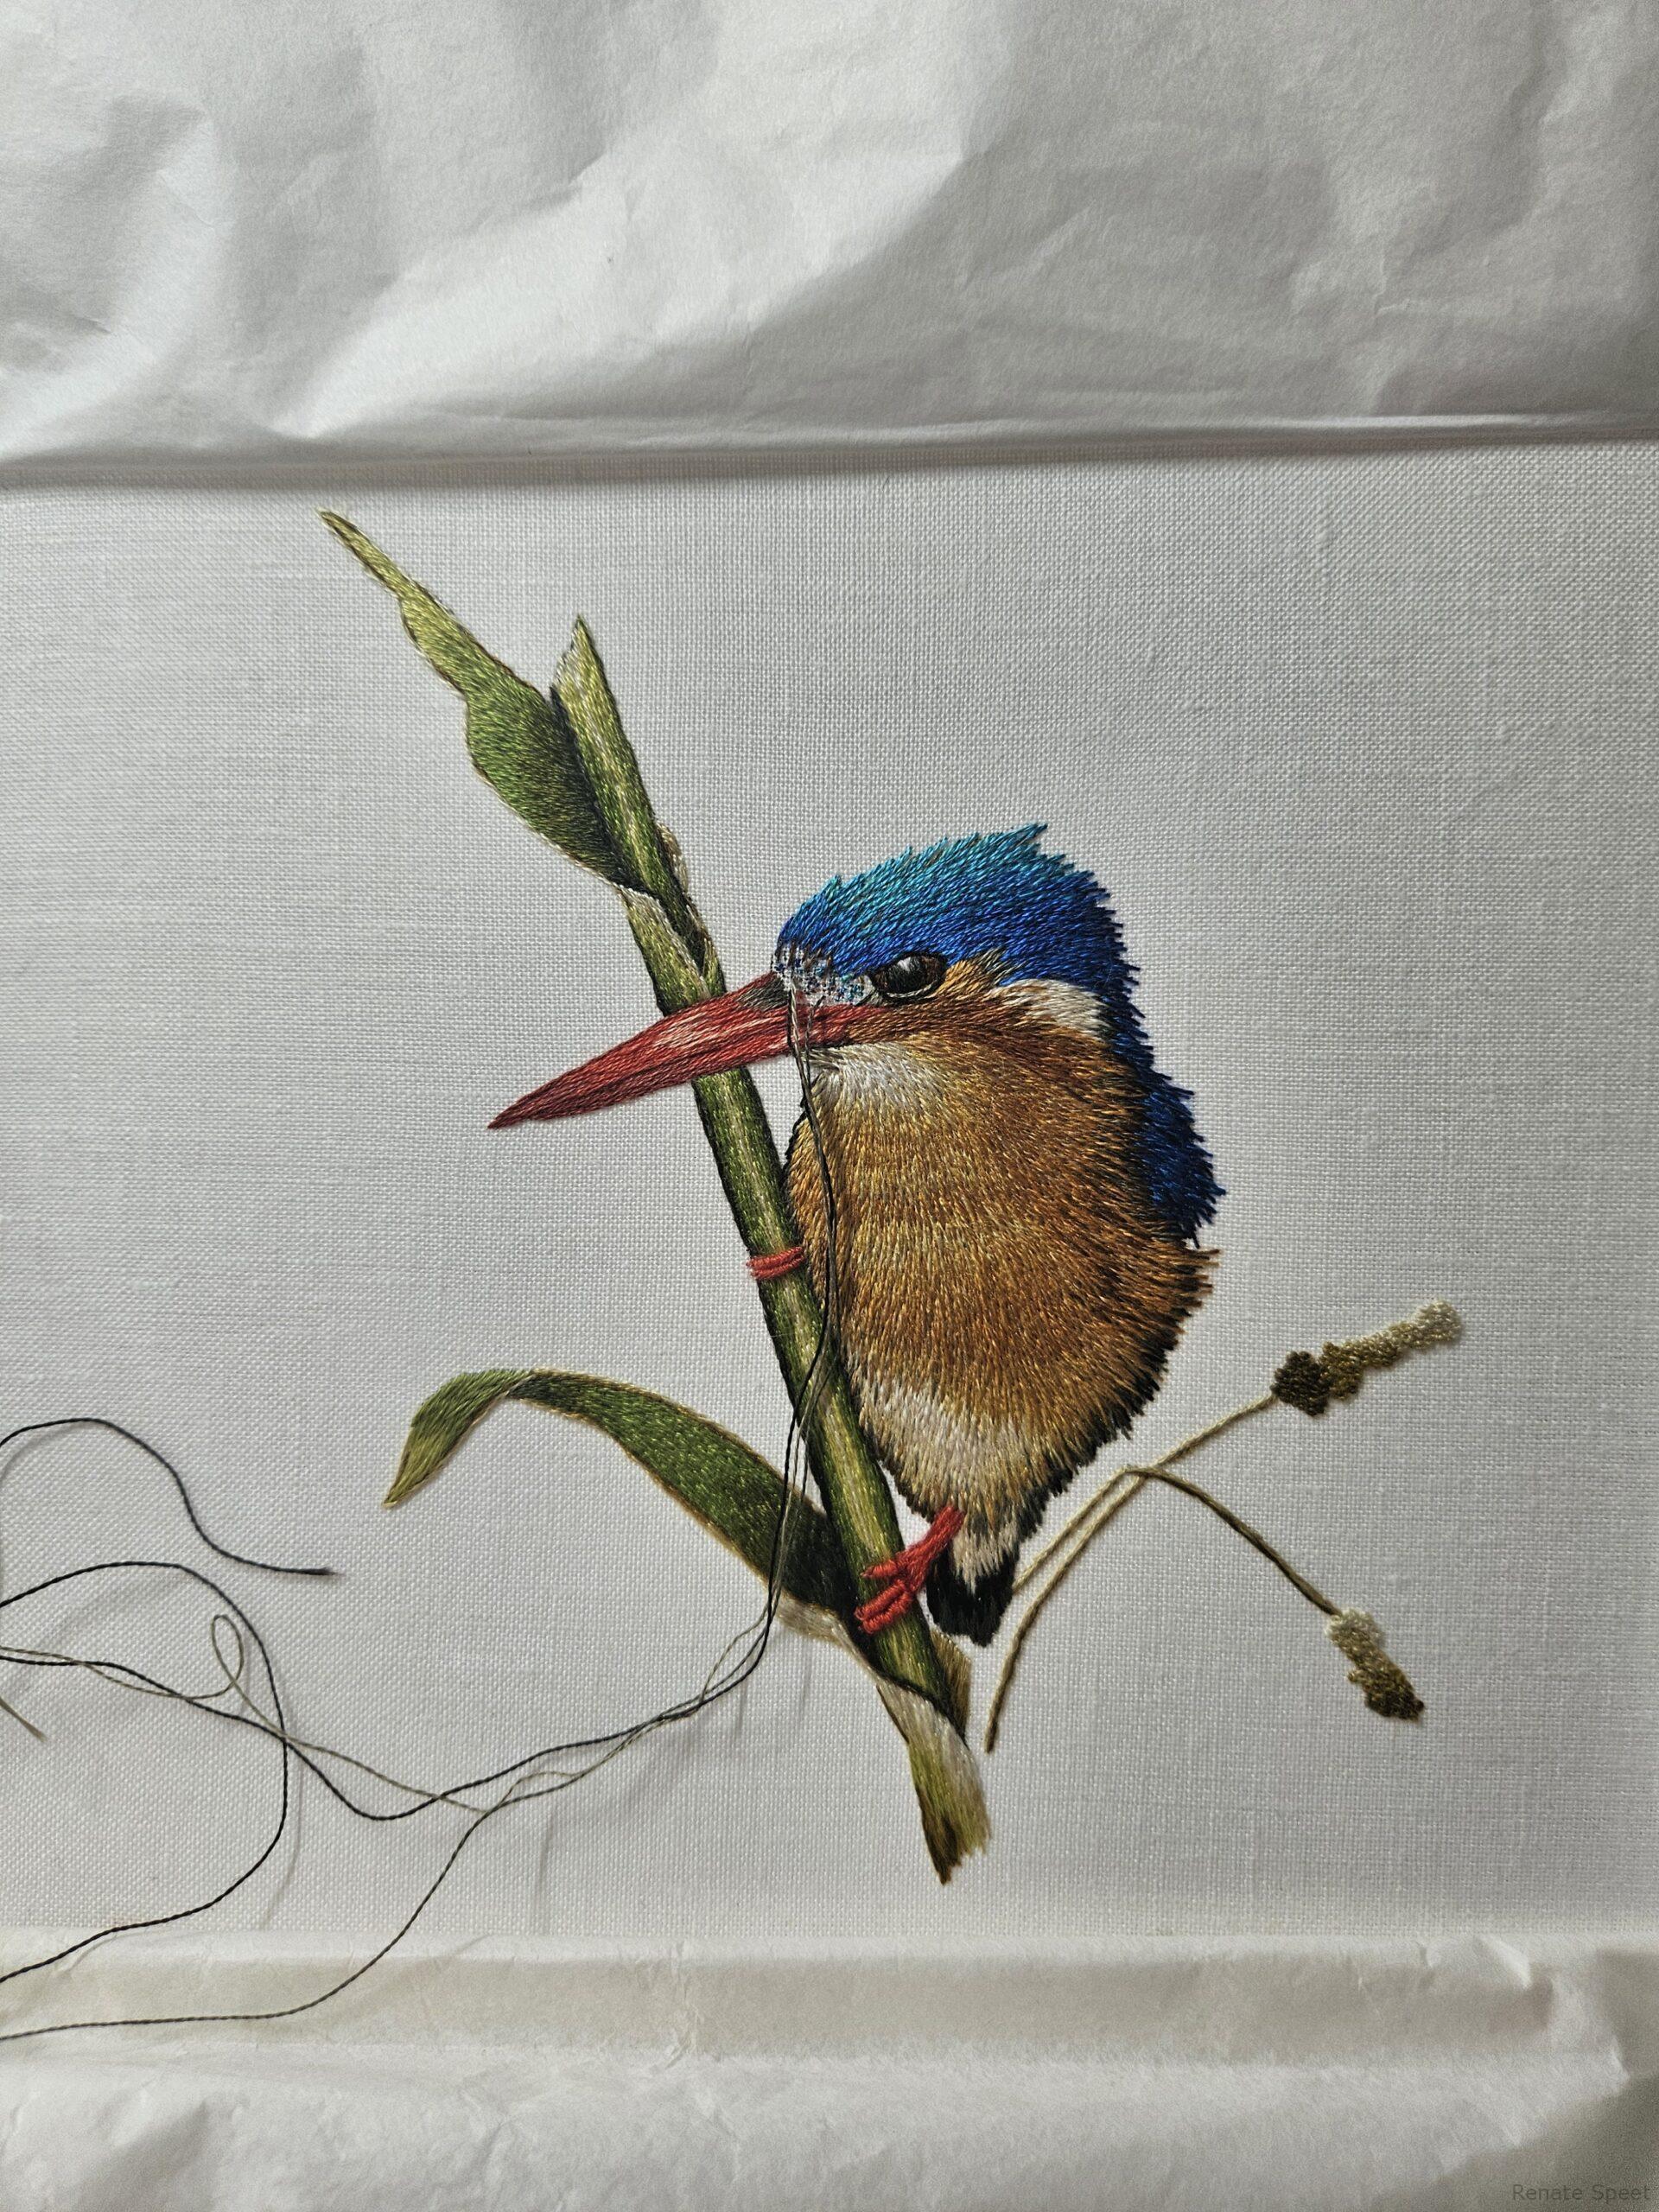
In the end, I think I did a fair job. You can’t really see it clearly in the photos, but from the back you notice there’s a little bulk in that area, just from all the layers of overlapping threads.
And so — the Malachite bird is complete! (Click the image below to enlarge.)
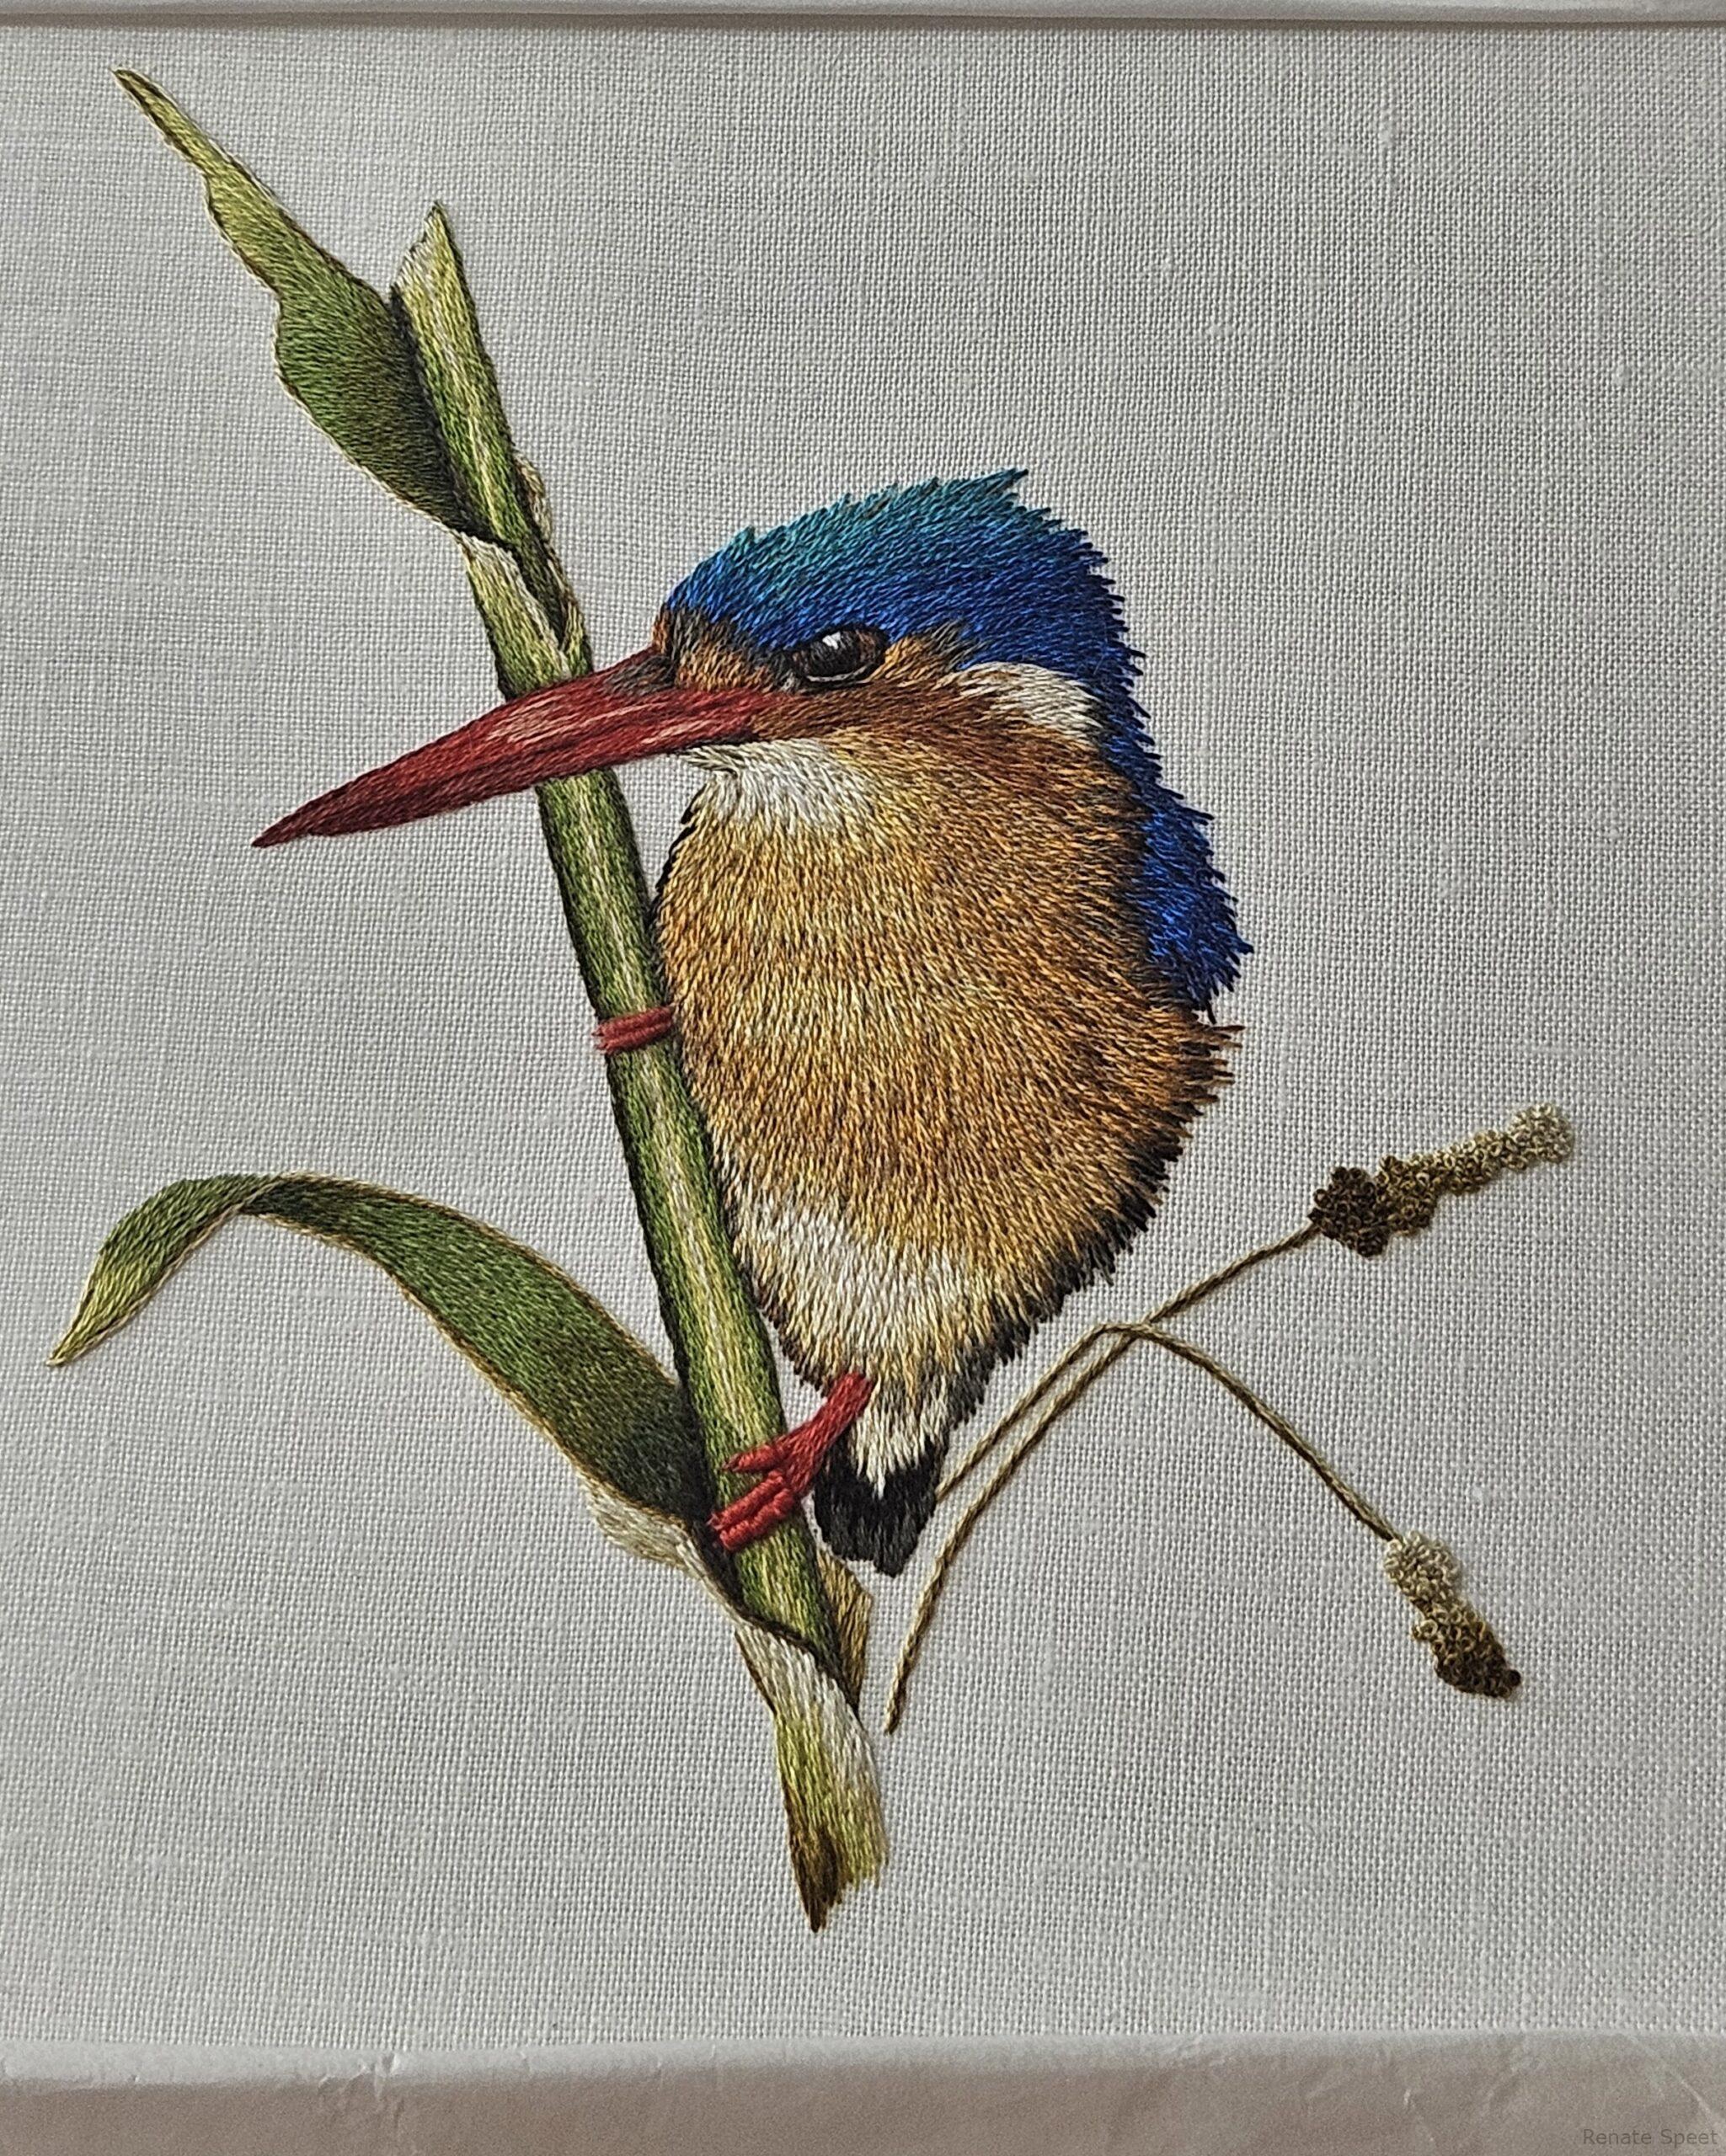
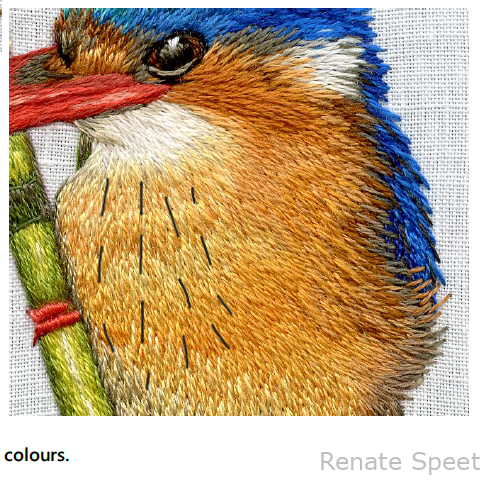
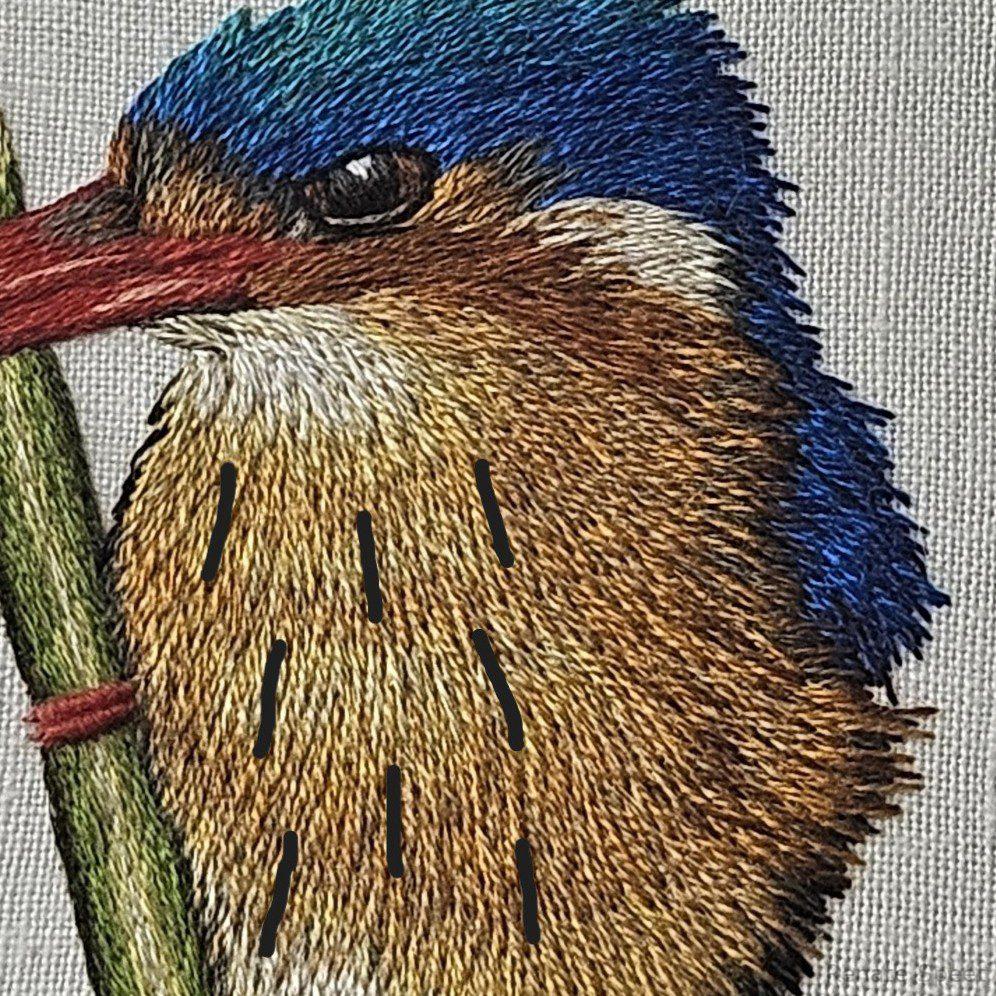
Now that it’s finished, I can’t help looking at it critically. There’s one area I would stitch differently next time. In the guide, the stitches around the belly curve ever so slightly, to suggest the roundness of the bird. In my version, the stitches run straighter — which makes my Malachite look noticeably thinner, almost flat, with less sense of dimension.
It’s a tiny detail, but small things like stitch direction really do make a big difference in creating realism. My bird may be a touch less lifelike as a result.
Design source:
My embroidered Malachite
Still, I’m very happy with the final result. Even though the blue areas cover only a small part of the design, that vibrant turquoise absolutely pops against the yellows and browns. It’s the first thing your eye is drawn to.
For now, I won’t be starting a new project immediately. Instead, I want to give some attention to a few older (and very long in-progress!) pieces. It’s time to finally move some of them from the WIP pile into the “finished” pile. And of course to clean up a bit of stitching mess …