
In my previous update on the Cheshire Cat embroidery project, I had just finished the RSN online class, with a healthy pile of homework waiting for me afterwards. Luckily, I had a full week off work, which meant I could carve out proper stitching time. It’s amazing what a difference a few uninterrupted hours make compared to trying to squeeze in 30 minutes here and there.
Over the past few sessions, I’ve been focusing on three main things:
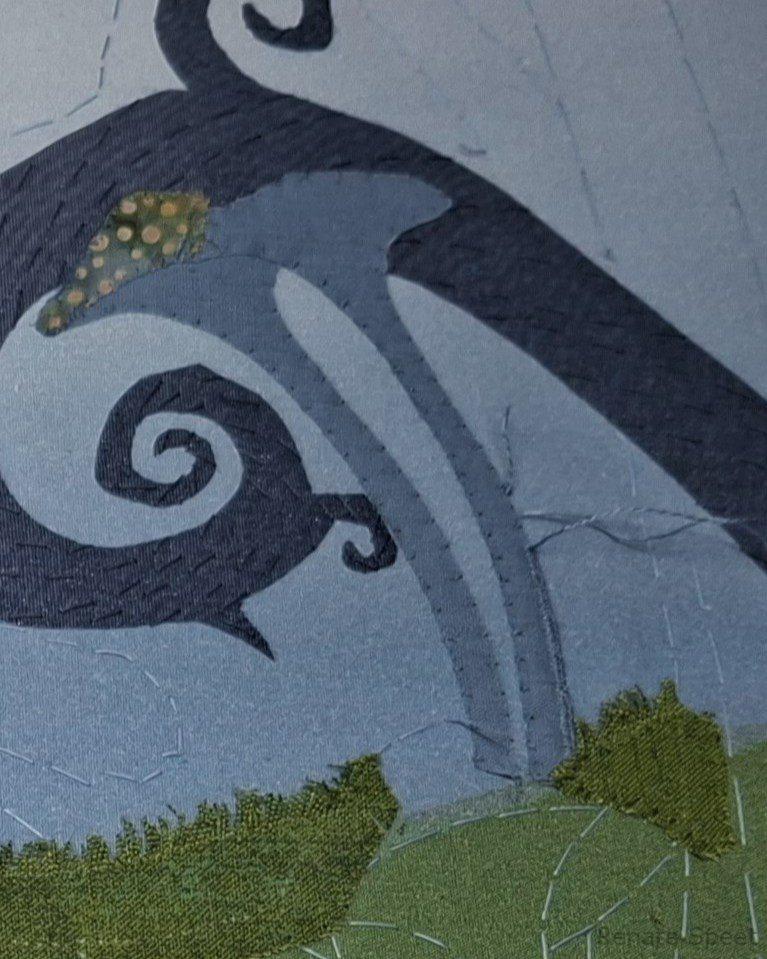
• Finishing the four background mushrooms
• Progressing the grass as far as I can
• Fine-tuning my approach for the star of the show: that mischievous cat
Grass Troubles (and a Lucky Find)
No project moves forward without a few hiccups, and my first one appeared with the grass.
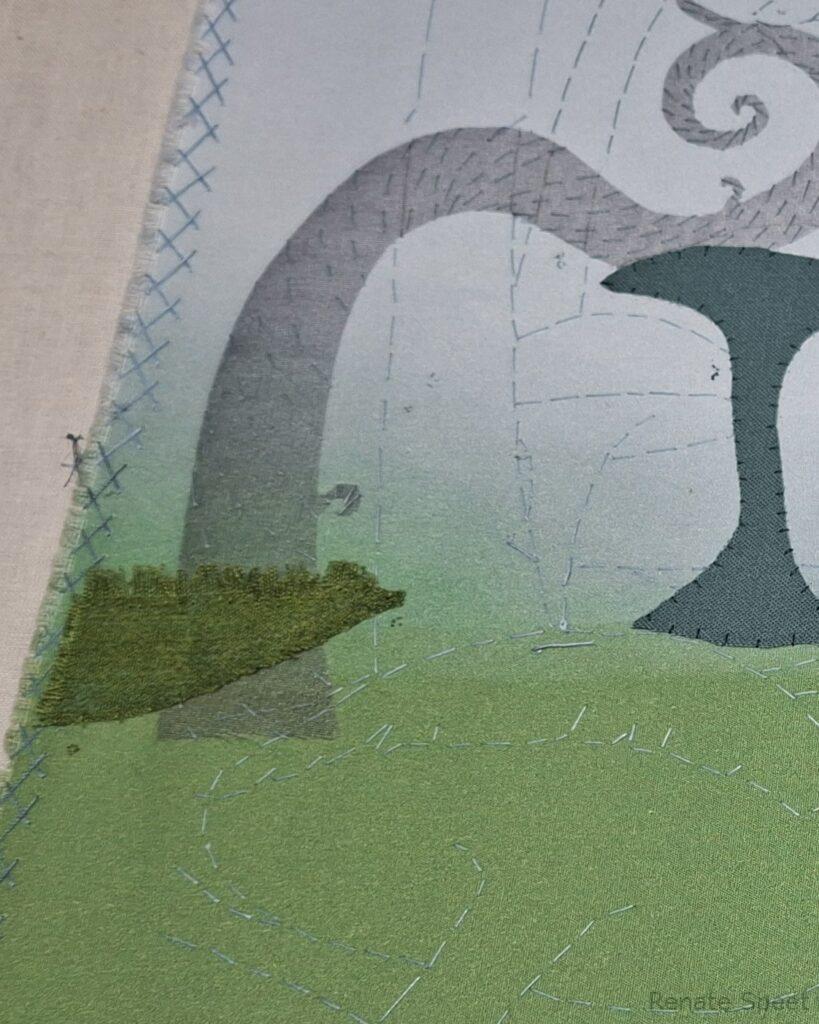
I stitched down the first fabric section and carefully frayed the edges to mimic the uneven tufts of grass. But then I hit a snag: my sewing thread wasn’t a good color match. Normally, the advice is “when in doubt, go darker.” This time, however, that left me with an almost black-green line cutting across the grass — far too visible, even from a distance.
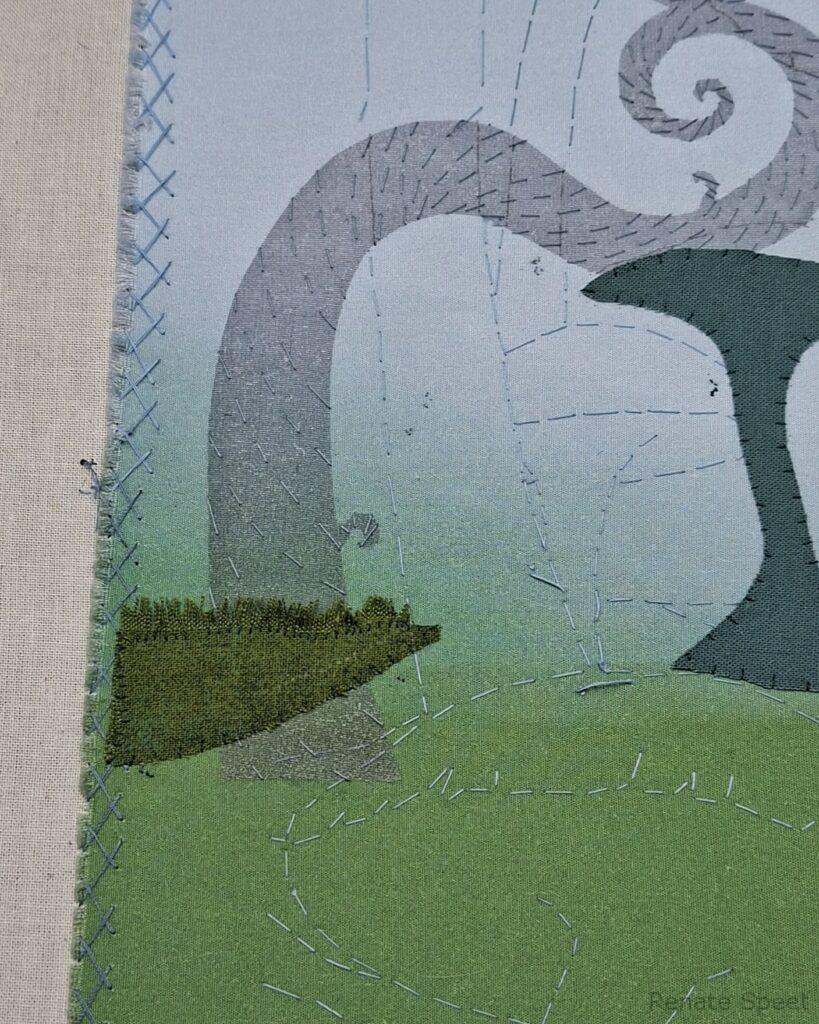
Since it was the weekend, no shops nearby were open to buy a better Gutermann shade. And I wasn’t keen to lose two full days of stitching momentum. So I raided my stash of DMC threads and found a near-perfect match. Strictly speaking, I’m not sure if one should use DMC instead of Gutermann for stitching down fabrics, but I decided to take the risk.
I unpicked the section, restitched it with the new thread, and voilà: the stitches are nearly invisible, even close-up. Much better! Sometimes flexibility is the real secret weapon.
Speeding Up with Larger Shapes
One silver lining I’ve discovered with this project is that once the fabric is applied, the progress feels surprisingly quick. Since I’m only stitching around the edges of each piece, even larger shapes go down fast. A relief, considering the full piece measures about 36 x 38 cm!
For comparison: in my last project, I was progressing at roughly 2 cm² per session. Using that same pace, this design would take me over two years. Thankfully, it seems this one will move along much faster than that.
My Buttonhole Frenemy
To break things up, I also started adding the buttonhole edging. It’s there to hide the appliqué stitches and keep the fabric from fraying.
Now, buttonhole stitch and I have never been best friends. It’s one of those stitches I tolerate rather than enjoy, so doing a lot of it is best tackled in small doses. At first, that was my plan. But then I realized: the frame is only supposed to stay a bit slack while applying fabrics. For embroidery stitches like buttonhole, it really should be tightened again.
That means I need to wait until all the grass fabrics are in place before continuing with the edging. There’s no way I’m unpicking what I’ve already done — I don’t like buttonhole enough to do it twice!
Looking Ahead
The plan for the coming week is to finish the grass and the four mushrooms as far as possible. That way, I can dedicate proper time to creating a detailed sample of the cat himself. Since he’s the hero of the piece, I want him to be just right. My goal is to bring the sample to my next class at the end of September to get teacher feedback before I commit to stitching him on the main piece.