
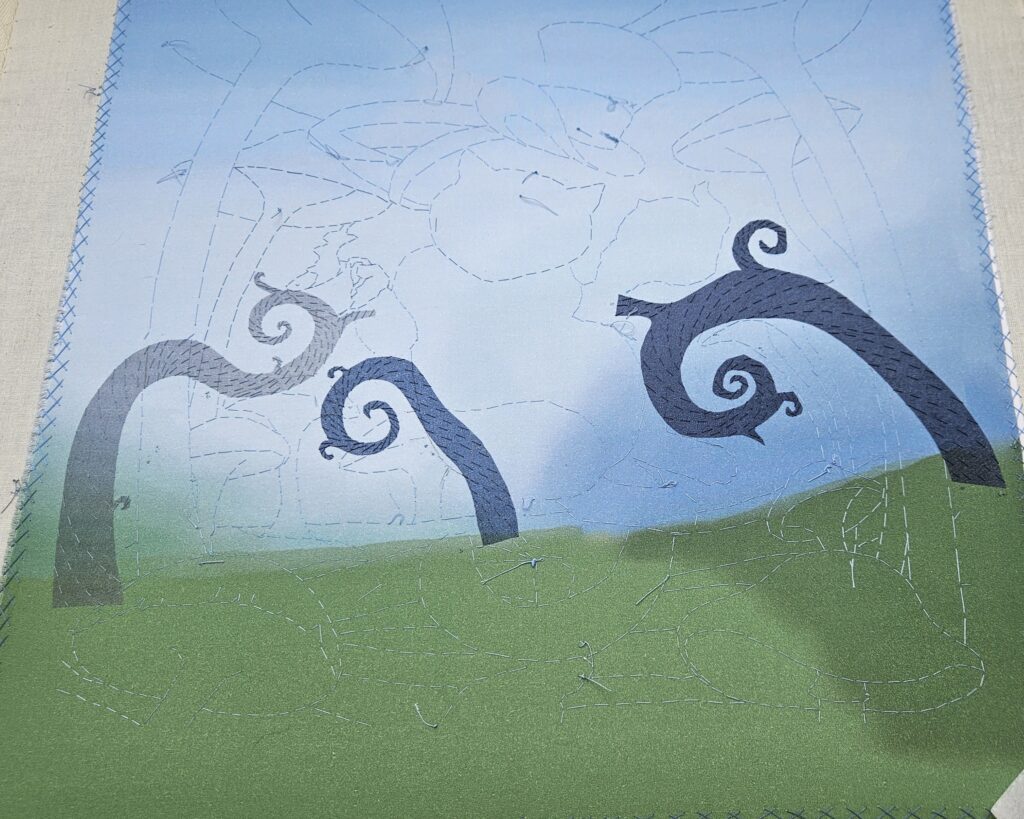
I arrived at my second lessons in appliqué feeling reasonably well prepared. My homework was to tack my design onto the ground fabric and start experimenting with padding techniques. I had also been trying out different ways of applying organza to the ground fabric. As with most sampling, there were plenty of mistakes along the way—but also those brilliant little aha! moments that make it all worthwhile.
Sampling Organza for the Thorns
The thorns in my design sit right at the very back of the image, so they needed to go in first. I chose organza for them, because it gives such a delicate, translucent effect. But first, I had to work out how to cut those complicated spiral shapes without shredding the fabric.
I tested three methods:
- Paper templates – fiddly, messy, and the organza frayed before I could even think of stitching it down.
- Freezer paper – clever in theory (it sticks temporarily when ironed on), but the edges still looked rough and ragged.
- Wonderweb (Vliesofix) – the clear winner! Nice clean edges, easy to cut, and it kept the shape beautifully.
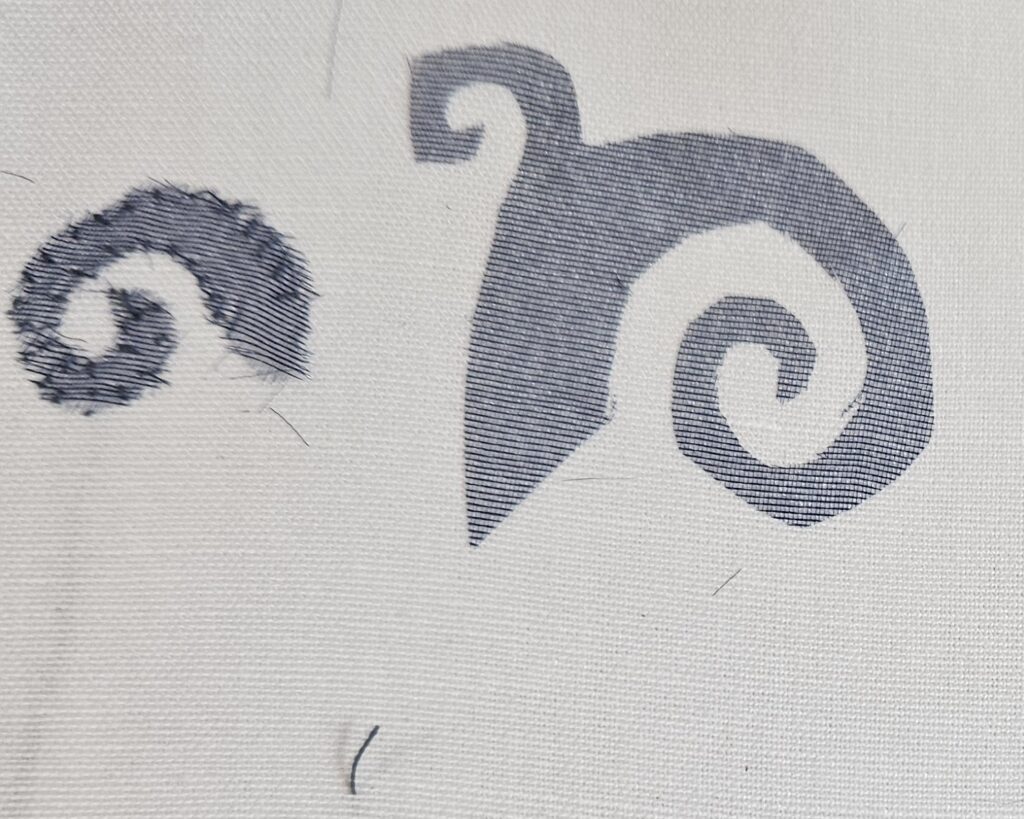
The first two just didn’t give me usable results. Organza isn’t exactly sturdy, and when combined with thorny spiral shapes, it quickly became unmanageable. But Wonderweb worked wonders (pun fully intended). It was firm enough to handle the tricky cutting, sticky enough to hold its shape, and once applied to the backing fabric, it still kept that lovely see-through quality.
One important lesson, though: never, ever leave the iron sitting too long on organza backed with Wonderweb. The organza simply vanishes—straight onto the bottom of your iron! Let’s just say I got a crash course in cleaning iron plates that day.
Stitching the Organza in Place
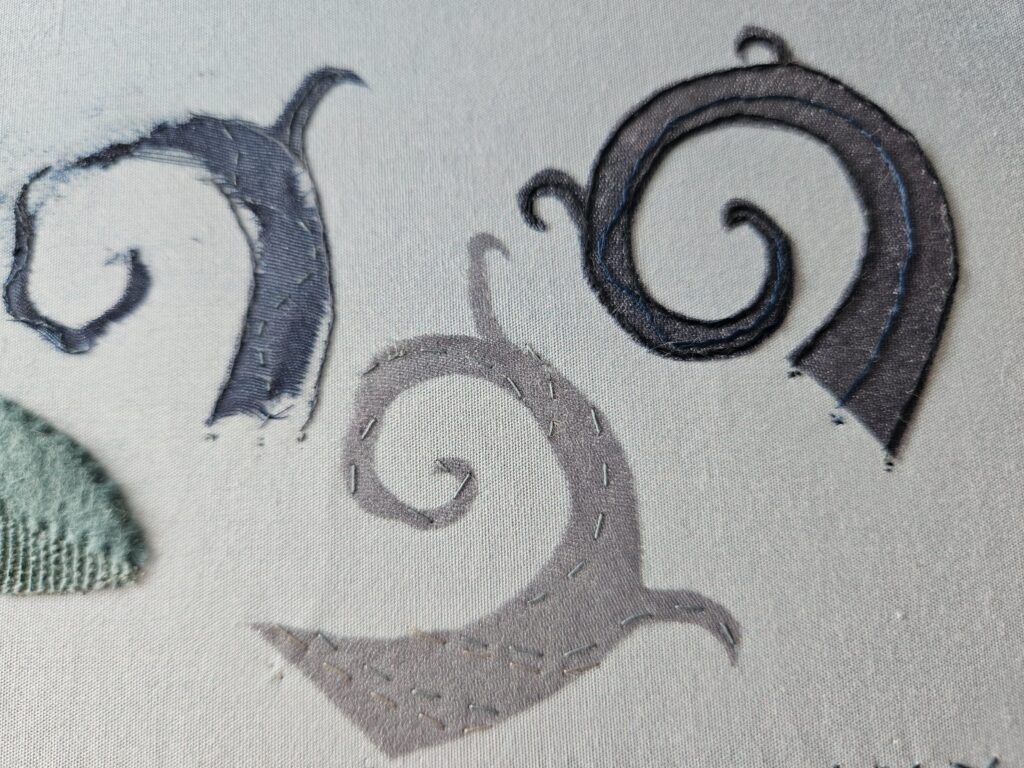
Even though Wonderweb held the thorns securely, I didn’t want to risk the organza lifting later. So, I sampled different methods of stitching it down. The goal was to add security without weighing down the lightness of the fabric.
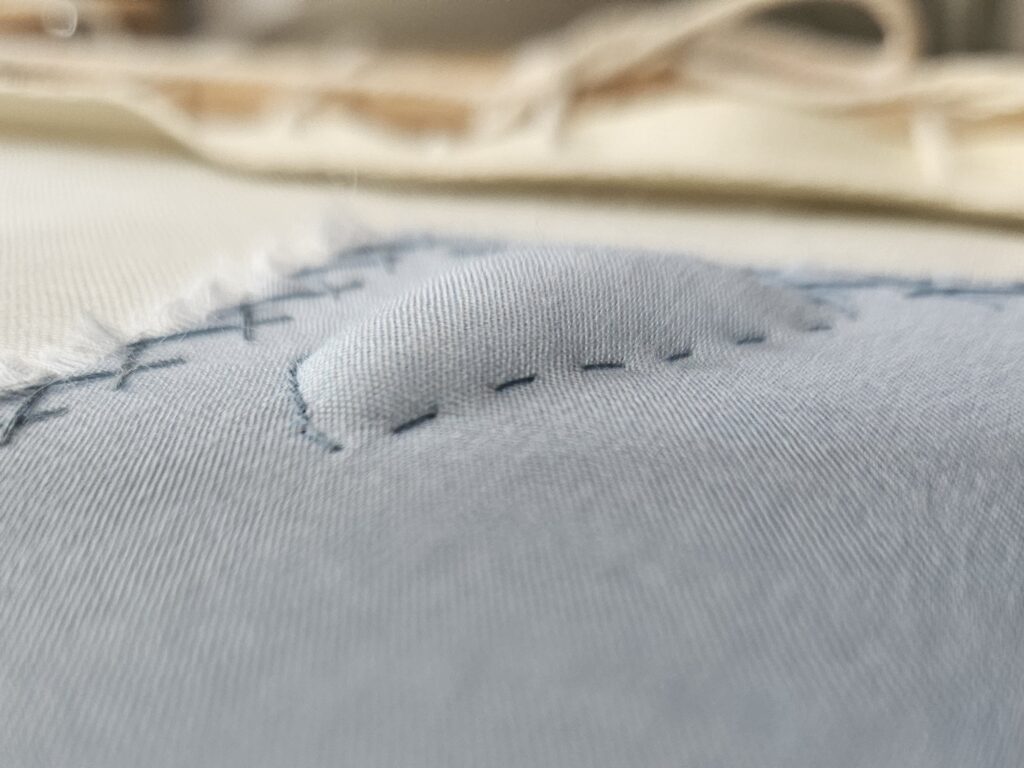
After a bit of trial and error, I found a method that worked beautifully (that’s the light grey sample in the picture above). During class, I applied the thorns to my piece, and I was genuinely delighted with how they looked. Sometimes, all those messy experiments do pay off in the end.
My First Battle With Padding
With organza sorted, I moved on to padding—starting with felt. And immediately hit my first roadblock: how do you even cut felt neatly?
No matter which scissors I tried, the result was the same: jagged edges and uneven cuts. The only halfway-decent result came from slicing it, which gave the neatest vertical edge. Still, I was left with a long list of questions and felt nowhere near ready to actually use it in my work.
Trapunto: Stuffed Padding
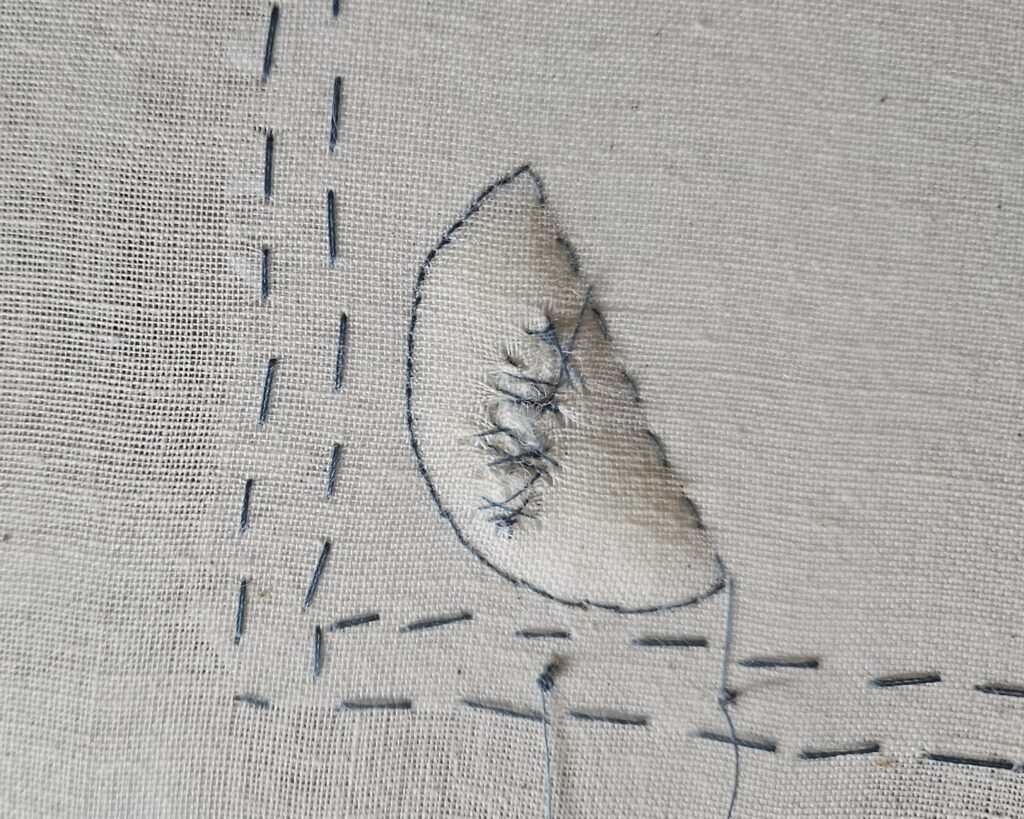
Next came Trapunto, which was a whole new adventure. The process involves outlining the shape you want to pad with running stitch, then carefully cutting into the backing fabric from behind, stuffing the cavity with toy filling, and stitching the cut closed again.
I’ll admit, the thought of cutting into my base fabric made me wince. But the result was worth it: a satisfyingly raised, softly rounded shape that added real dimension. The height is quite visible, and it made me see padding in a whole new way.
A Lesson in Order
Just as I was despairing over my felt padding, class gave me a small reprieve. It turns out I had completely misunderstood the order of work. I thought padding had to go in early—but no! First, all the flat fabrics (those sitting directly on the ground fabric without padding) need to be applied. The padded shapes only come later.
This required a bit of a mental reset. Instead of stressing about padding for now, my new homework is to keep sampling different ways of applying flat fabrics.
The Cat and the Turkey Rug Stitch
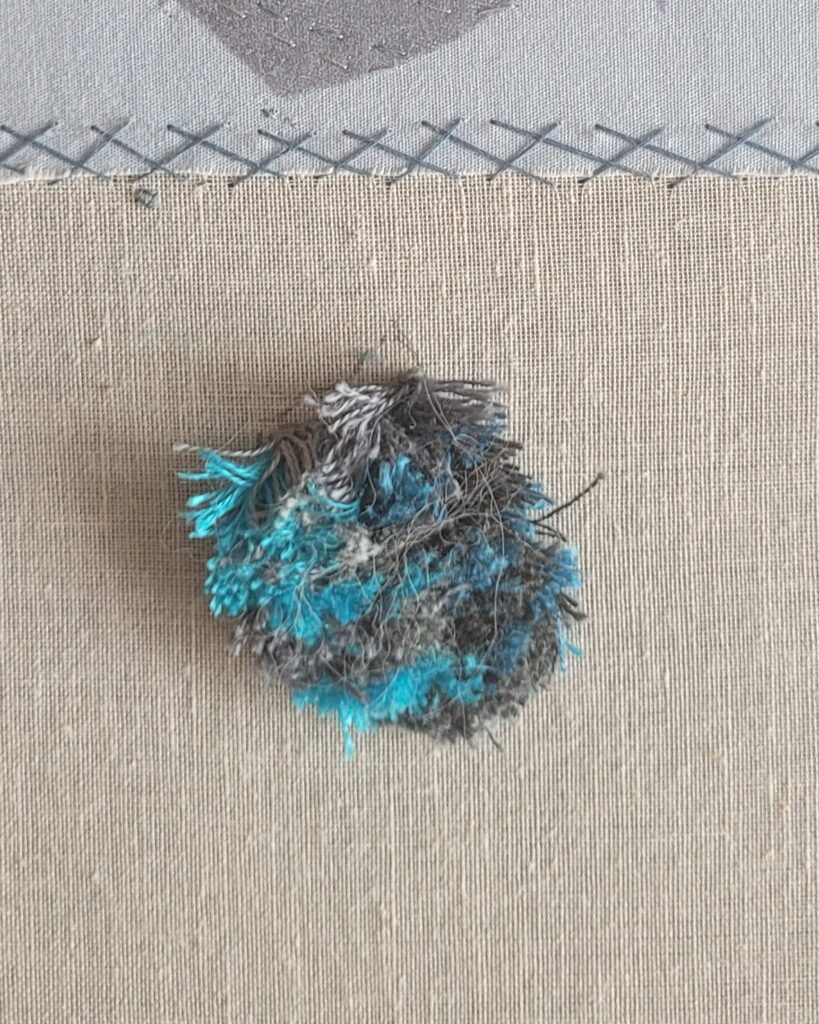
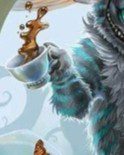
Another part of my homework was to start on the cat in my design. I wanted to stitch him using Turkey rug stitch (also called Turkey knot or Ghiordes knot). I had already done some sampling, but things didn’t go quite as planned.
That little hairy bit of blue you see? That was supposed to be the cat’s arm (the one holding the teacup). But the Turkey rug “fur” extended outside the design lines, making him grow rather… plump. Since the lines I traced already included the outer edge of his fur, all that extra floof pushed him way past his intended size.
My idea to fix this was to stitch him slightly smaller than the design lines, letting the fur fluff out naturally to the outline. My teacher wasn’t convinced. She explained that because we’re using “stitch and stuff” techniques, my plan probably wouldn’t work.
She quickly showed me a sample, and I think I got the gist of it—but I definitely need practice before I can confidently shape this cat. For now, my challenge remains: how to keep my appliqué cat from turning into a fat cat!
What’s Next
So, my homework for next time:
- Forget about the padding for now.
- Focus on testing different ways of applying fabric.
- Keep practicing Turkey rug stitch for the cat.
If appliqué has taught me anything so far, it’s that mistakes are just as valuable as the neat results—they’re usually what bring the real aha! moments.