
I started experimenting with appliqué techniques a little while ago in First Steps in Appliqué. I’ve been playing with appliqué again—this time with mushrooms and misunderstandings. The main objective for my experimentations was to practice how to apply fabric straight onto the background fabric.
Order of work matters.
When it comes to layered embroidery, order matters—a lot. Stuff that is visually in the background should go in first, so that the pieces that sit further in the foreground can be stitched over it. This helps to create the perception of depth.
Then there’s frame tension, which surprised me.
So far in my embroidery journey at RSN, the main objective has always been to have a drum-tight frame. However, for appliqué, this is different. The tension of the frame is supposed to match the tension of the fabric you’re applying. This is to avoid the fabric bubbling or warping due to mismatched tensions once the piece is completed and mounted.
What that means for my Cheshire Cat
I’m working on two mushrooms (marked by the black arrows) that sit behind the cat—so they’re going in before anything else. The goal is to get the design onto the fabric and appliqué the pieces in place accurately.

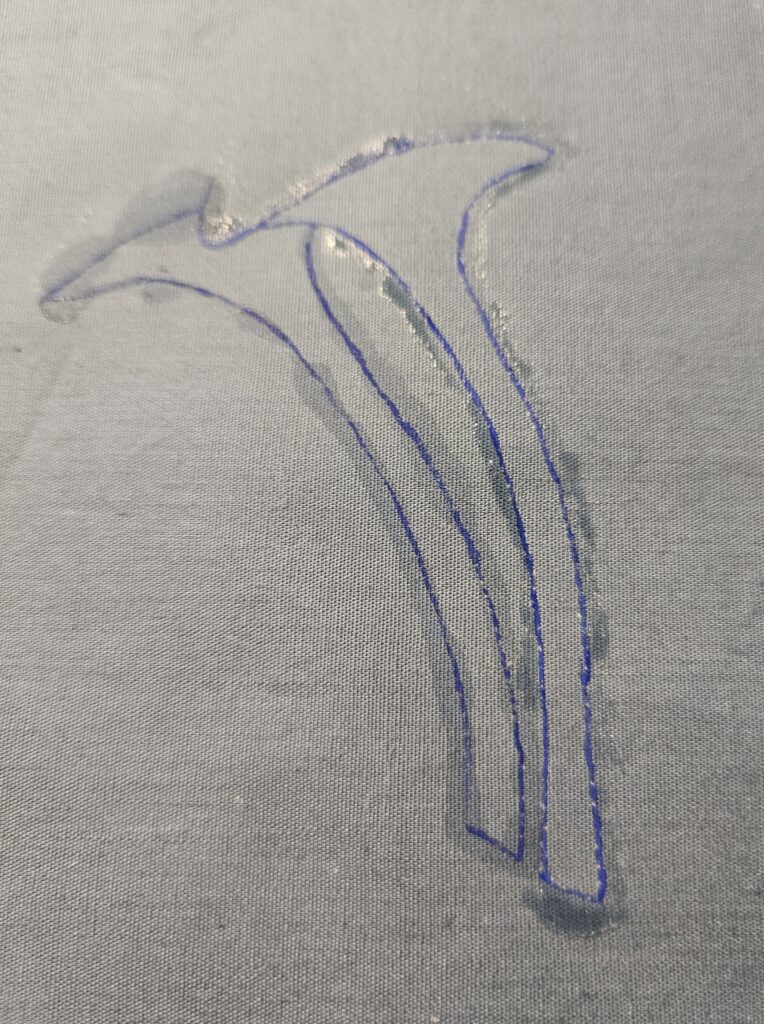
But my base fabric is too dark to trace using a lightbox, so I’ve applied the RSN method of pouncing the design on.
Once that’s on, I also need to make sure the appliqué fabric doesn’t fray. So before stitching, I’ve been painting a bit of diluted PVA around the edges. As you can see I was not always very neat. the PVA stained the fabric on the left mushroom, so I ended up only using the right part of the mushroom.
Two methods I tried
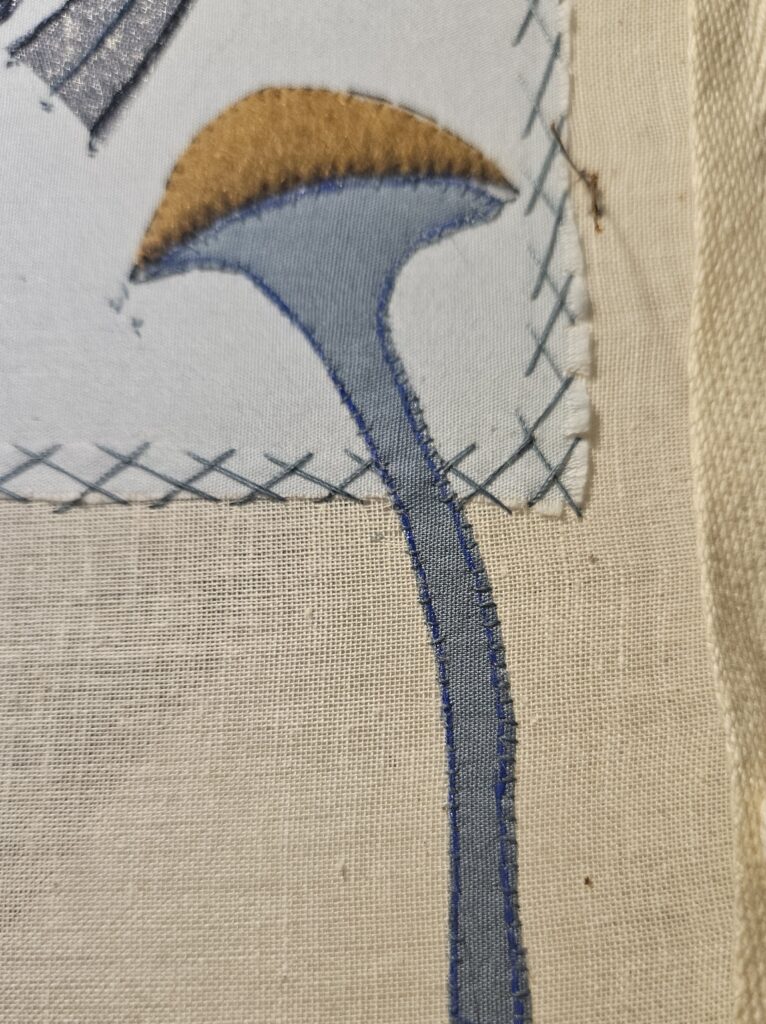
Method 1 – Tall Skinny Mushroom
(Let’s not talk about how I forgot to loosen the frame while stitching. Can you see how the fabric looks slightly loose or floppy?)
- Painted directly over the pounce (right on the design lines).
- Then applied glue just outside that paintline and cut the shape out.
- Result: the shape grew past the original design lines.
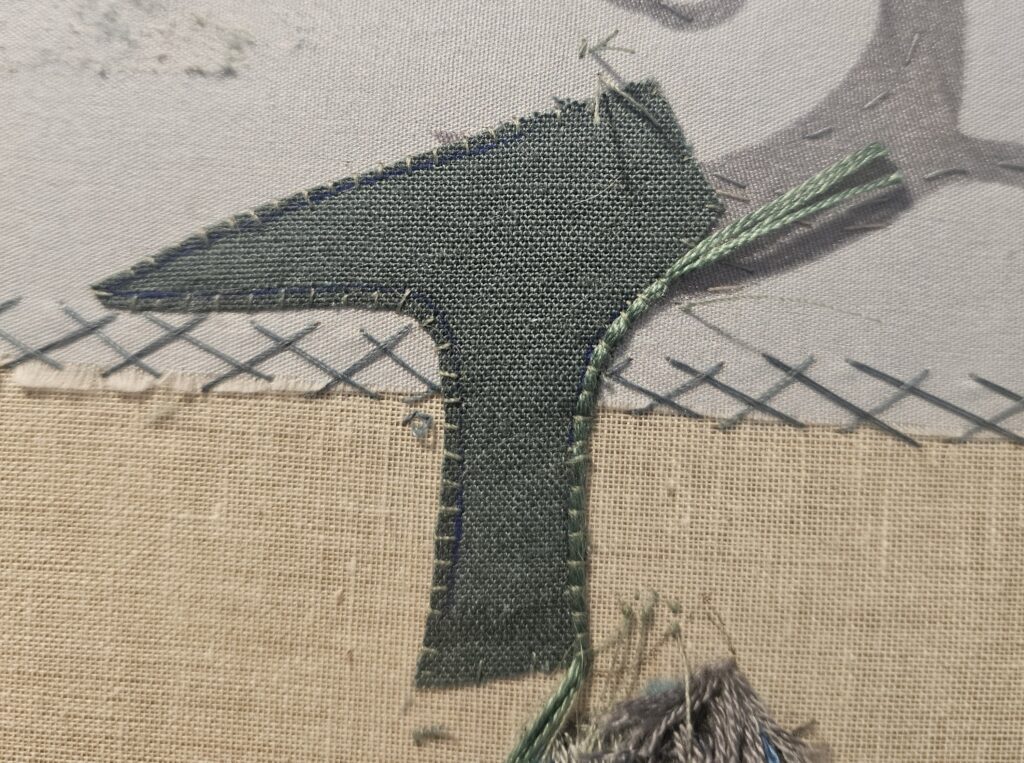
Method 2 – Short Round Mushroom
(This time I did remember to loosen the frame, so the fabric looks nice and tight.)
- Painted just inside the pounce (so inside the design line).
- Then applied a mix of glue and water over the pounce (i.e., on the actual design lines) and cut along that.
- Result: The shape is pretty much the exact size of the original design.
- Edged it using 6 strands of DMC floss.
But even with 6 strands, some of the paint line still shows.
Evaluating
- Method 1 didn’t work for me. The piece grew too big. My design is already busy—there’s no room for oversized mushrooms. That will disrupted the composition.
- Method 2 has potential. The size is better. But for the skinny stems, the two bundles of DMC are just too bulky. Anything thinner doesn’t cover the paint line well enough.
So what now?
- For those skinny mushroom stems, I think I’ll apply them using Wonderweb (fused on, no stitching and no paint line to cover), and then finish the edges with a loose buttonhole stitch.
- For the shorter, rounder mushrooms, I’ll stick with Method 2.
Let me know if you’ve tried something similar—or if you think I’ve missed a trick.